Long exposure time-lapse photos are a combination of long exposure and time-lapse photography.
Together, these two genres can make your time-lapses look both surreal and eye-catching.
What You’ll Need for a Long Exposure Time-Lapse
- Camera
- Lens
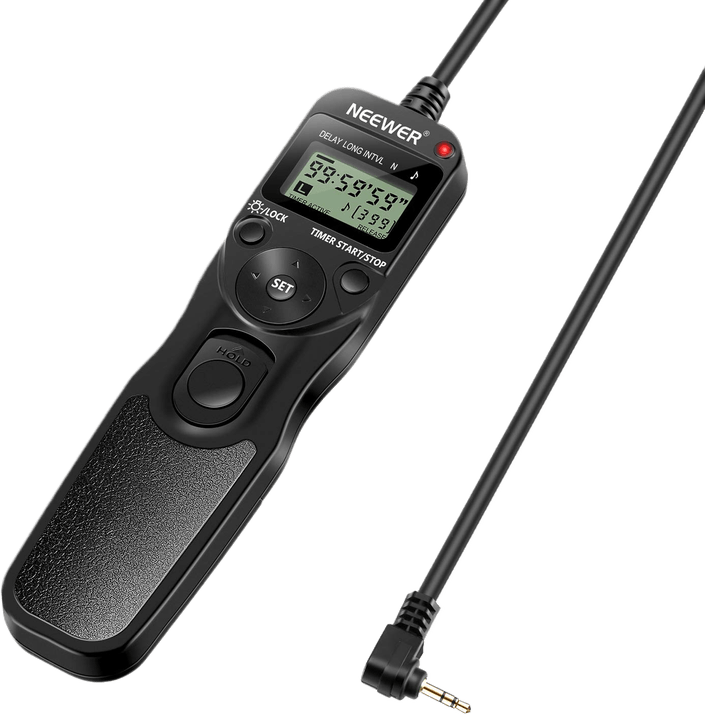
- Intervalometer
- Tripod
- ND filter
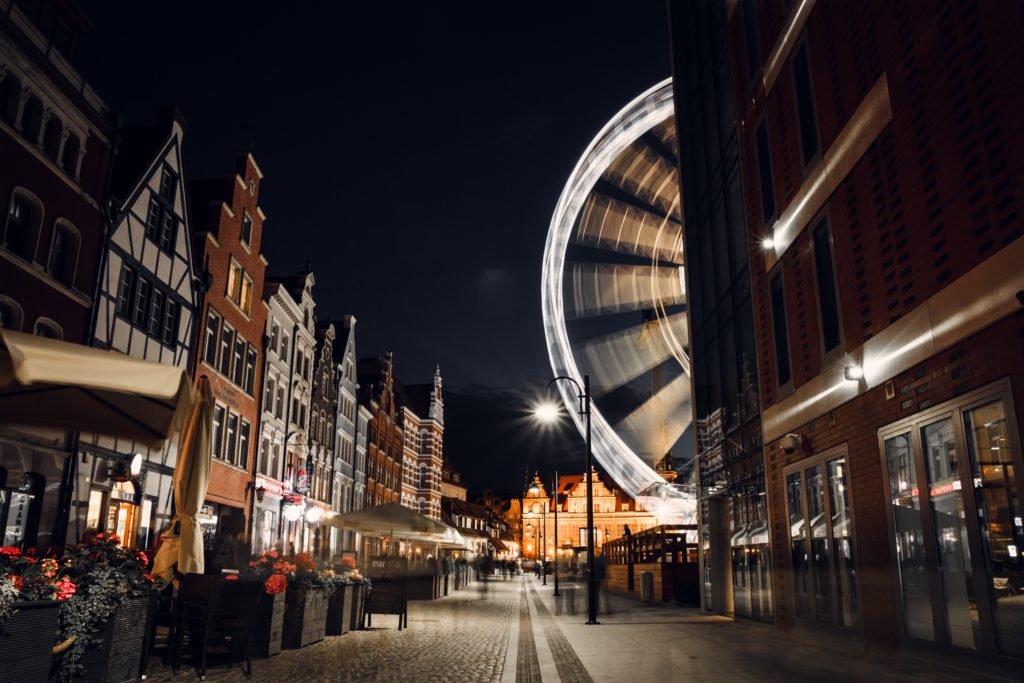
Pick a Busy Location to Capture More Movement
The busier a location, the more movements you’ll capture in your time-lapse. Busy time-lapses tend to be more eye-catching than simpler ones.
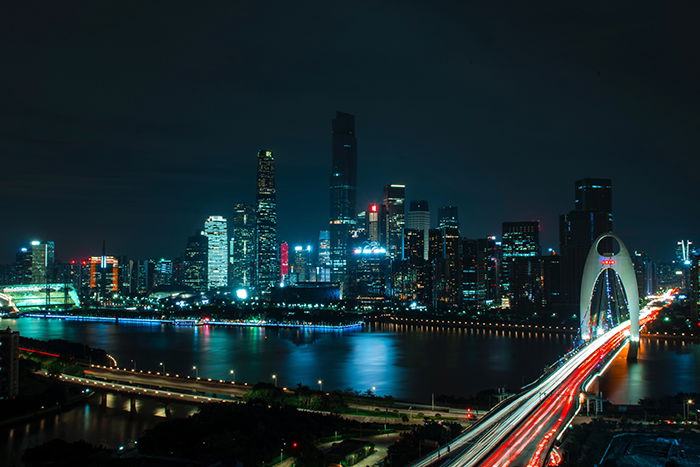
You can start by shooting a busy street or city. These are great places to create light trails in your time-lapse. A light trail is a streak of like that’s very common in long exposure photography. It can make your time-lapse look like it was painted rather than simply photographed.
Make sure your shooting spot is calm and safe. The weather should be good so that nothing affects the steadiness of your equipment.
Use Foregrounds to Add Depth to Your Time-Lapse
This is an optional step. You can use the foreground to add depth and interest to your long exposure time-lapse.
If you use a large aperture, the foreground will turn into a blur. This can create lots of depth and add interest to your compositions.
You can use foregrounds to draw attention to a specific part of your shot. You can also use it to hide distractions from your composition. Your foreground can be a railing, branches, or anything else that complements your shot.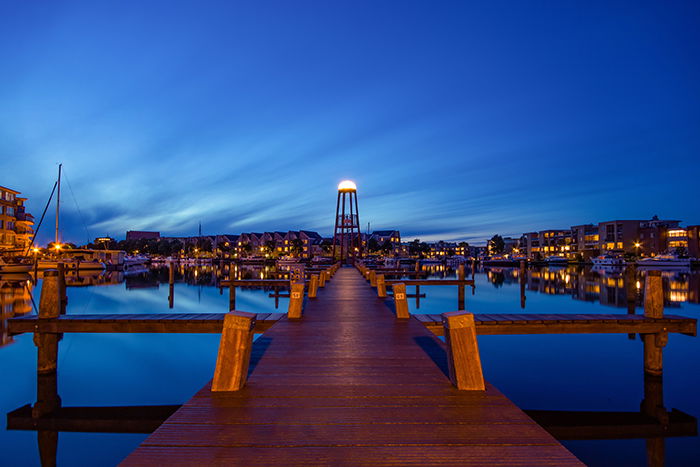
Shoot in Manual Mode to Make the Most of Your Camera Settings
If you shoot in Automatic mode, your camera will make different adjustments every time it takes a picture. This will result in choppy time-lapse photos.
You can avoid this by shooting in Manual mode. This means you’ll adjust all your camera settings on your own. If this sounds complicated, don’t worry! It’s much simpler than it seems.
The most important settings you should focus on are ISO, shutter speed, and aperture. You should use quite a high ISO if you’re taking photos in low light conditions. Your aperture should be small (e.g. f/11) so that you can capture as much of a landscape as possible.
You can use a large aperture (e.g. f/1.4) to create a pleasant blur effect in the background. However, that might keep you from creating a sharp time-lapse video.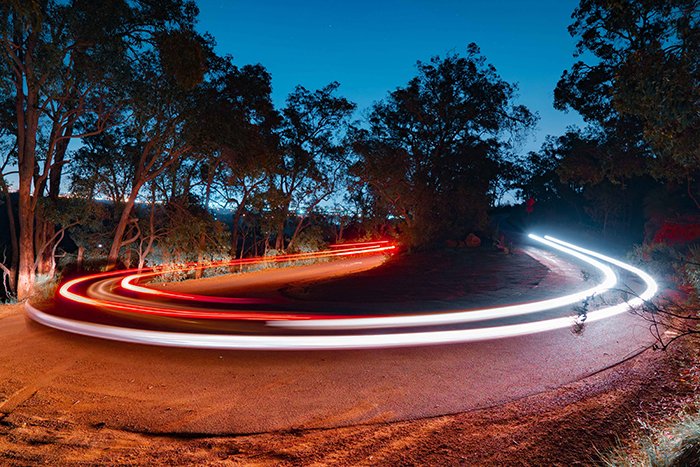
Pick a Slow Shutter Speed to Create the Long Exposure Effect
This brings us to the next most important setting: shutter speed. Your shutter speed is what will help you create that long exposure effect. The slower it is, the smoother the movements will look.
There’s no specific rule for shutter speed in time-lapse photography. Most long exposure time-lapse photographers set their shutter speed to 3-10 seconds. This speed will give your camera enough time to create smooth light trails.
You can go further than that to capture movements that are even more seamless.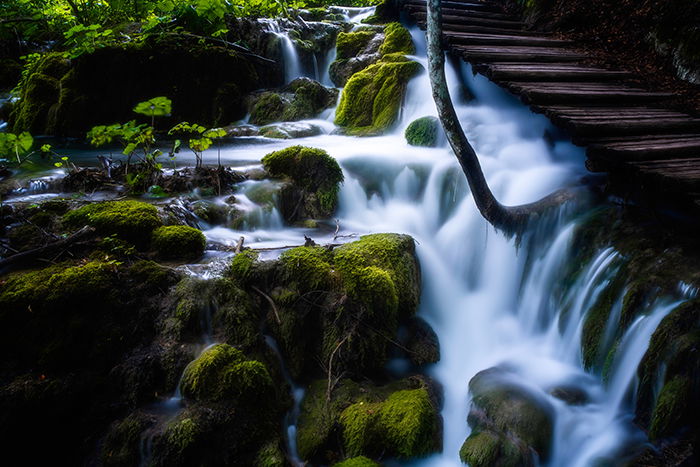
Take Test Shots to Ensure That Your Time-Lapse Is Successful
Again, this is optional. It’s a great way to ensure that you won’t make a mistake and waste your time. It’s also an opportunity to experiment with a few shutter speeds and find your favourite.
Don’t use your intervalometer for this. Simply take a test shot. You can take a few with different camera settings. This should take only a few minutes and give you the information you need to make a great long exposure time-lapse.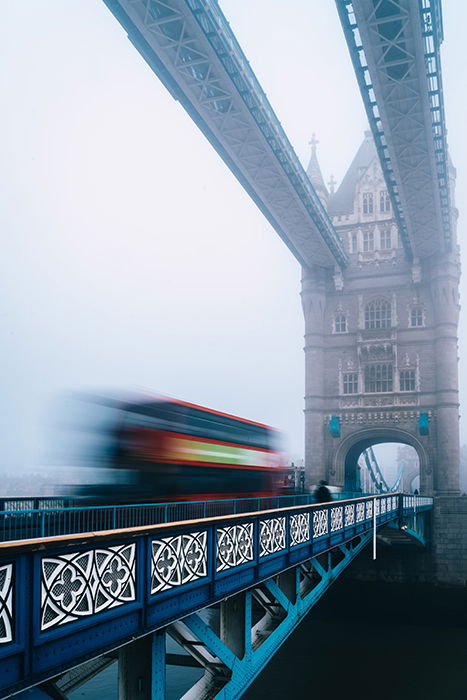
Focus Manually to Avoid Inconsistent Time-Lapse Shots
If you let your camera focus automatically, it might focus on different objects every time. This will result in inconsistent shots.
You can save a lot of time by manually focusing once. After that, you won’t need to worry about not capturing the right subject throughout your time-lapse.
This is when a small aperture comes in handy. You can capture many details at once if you use a small aperture like f/11.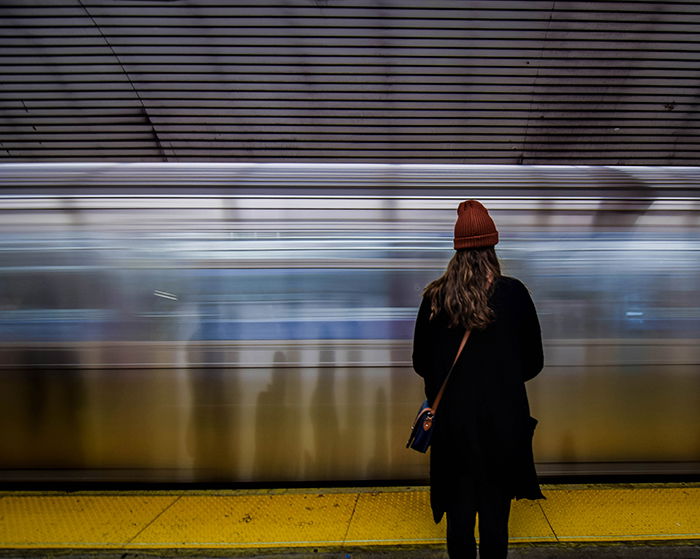
Use an ND Filter to Get Rid of Overexposure
Long exposure photography comes with a few obstacles. When you select a very slow shutter speed, you brighten your images more than you usually would. This isn’t a problem in low light conditions. In bright daylight, it can overexpose your photos in a very unappealing way.
You can compensate for all the light by using an ND filter. ND filters are made for long exposure photography. They come in different versions, depending on how much brightness you’re dealing with. They usually come in sets, so you can experiment with different ones to find the perfect exposure.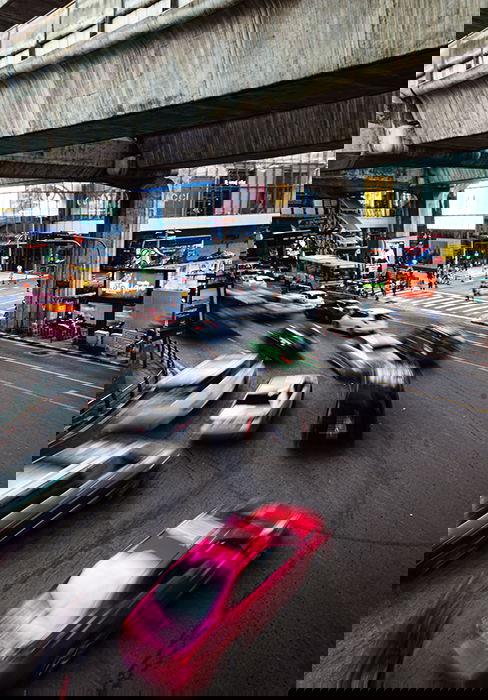
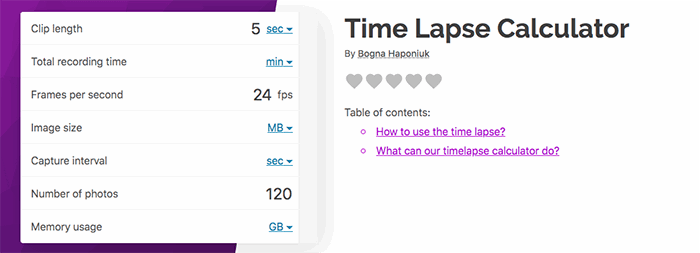
Use a Time-Lapse Calculator to Find the Best Interval
Now it’s time to use your intervalometer. You need to set an interval and choose the amount of photos you’d like to take. You also need to consider how long you want your time-lapse video to be.
Some Sony cameras come with a time-lapse app that can do all the work for you. You can also use apps for other camera brands. If you don’t have either of those, you can use a time-lapse calculator.
If you’re an absolute beginner, start small. Aim to create a whole collection of 2-second time-lapse videos, for example. This will help you avoid stress. It will also give you the opportunity to experiment with different landscapes.
Wait Until Your Results Are Ready
Select your settings in the intervalometer and press Timer Start. It’s very important that you don’t move your camera during this process. Even a slight movement can result in crooked and inconsistent pictures.
If the light changes dramatically, you should carefully change your settings or replace your ND filter with another one. Shoot in Live Mode so that you can quickly notice any unusual changes.
Don’t forget to enjoy the process. Long exposure time-lapse photography doesn’t have to be stressful or time-consuming. As a beginner, you have the freedom to find your favourite landscapes and camera settings. Make the most of it by being curious and open-minded.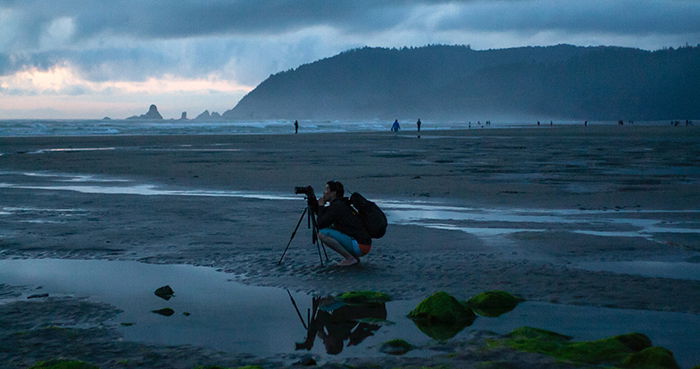
Common Long Exposure Time-Lapse Questions
How Many Frames Do You Need for Time-Lapse Photography?
You need to consider frames per second or fps. Most time-lapse photographers choose between 24 fps and 30 fps. Multiply this by the number of seconds you want to have in your video. For example, a 2-second video should have 48-60 frames.
How Long Can You Shoot Time-Lapse on iPhone?
You can shoot an iPhone time-lapse for as long as your iPhone battery allows.
Conclusion
Time-lapse and long exposure photography are powerful, even when they’re separate. If you combine them, you can elevate your time-lapse photography and get creative, even with simple ideas.
Check out our posts on creating a day to night time-lapse, a GoPro Time-lapse, or common time-lapse mistakes to avoid next!